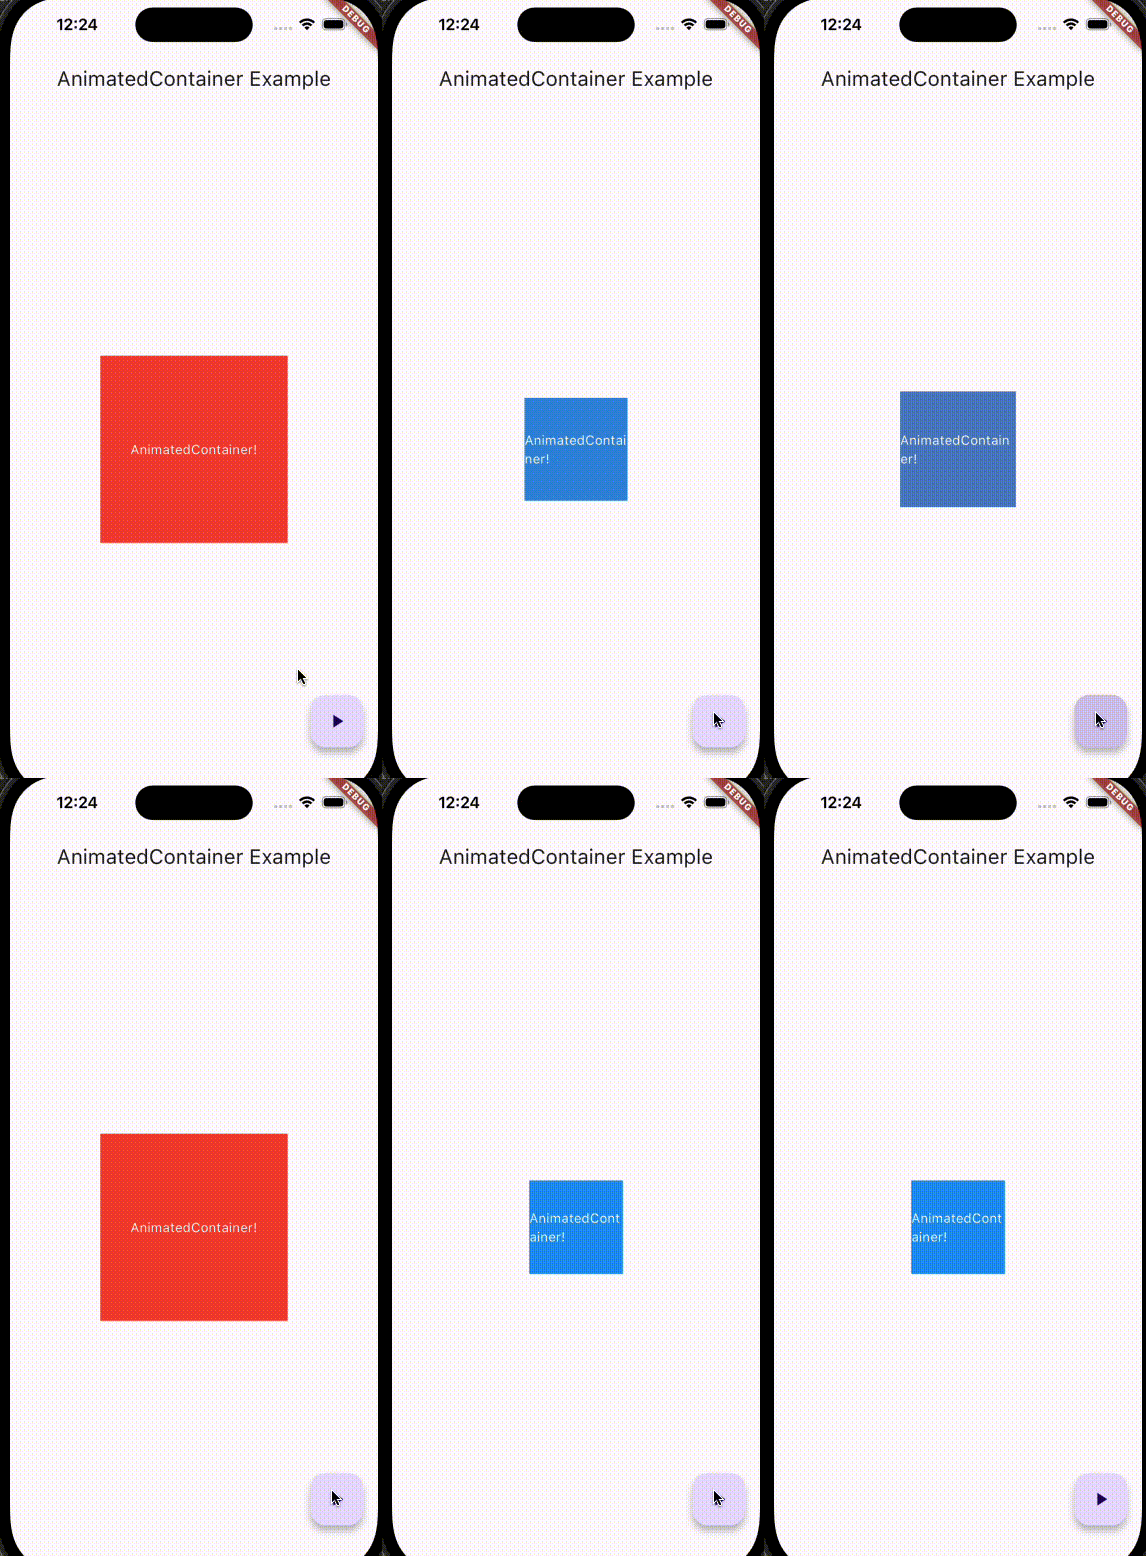
플러터(Flutter)는 매력적인 사용자 인터페이스를 설계하고 간편하게 애니메이션을 구현할 수 있는 강력한 프레임워크입니다. 그 중에서도 AnimatedContainer 위젯은 간단하면서도 다재다능한 애니메이션을 적용하는 데 유리합니다. 이번 포스트에서는 AnimatedContainer의 기능과 사용법을 깊이 있게 탐구해보겠습니다.

목차
AnimatedContainer란?
AnimatedContainer는 상태 변화에 따라 자동으로 애니메이션을 부여하는 컨테이너 위젯입니다. 기존의 Container 위젯과 유사하지만, 프로퍼티가 변경될 때 해당 변경사항을 애니메이션으로 자연스럽게 전환합니다.
이 위젯은 서서히 변화를 주는 디자인에 매우 유용하며, 부드러운 사용자 경험(UX)을 제공하는 데 큰 역할을 합니다.
주요 속성
AnimatedContainer는 다양한 속성을 정의하여 다양한 애니메이션을 구현할 수 있습니다:
1. duration: 애니메이션이 지속되는 시간을 설정합니다. `Duration` 객체를 사용하여 지정합니다.
2. curve: 애니메이션의 속도 곡선을 정의합니다. 다양한 곡선 옵션을 통해 애니메이션의 움직임을 조절할 수 있습니다.
3. color: 컨테이너의 배경색을 지정합니다.
4. width & height: 컨테이너의 너비와 높이를 정의합니다.
5. padding & margin: 내부 및 외부 여백을 조정합니다.
6. decoration**: 컨테이너의 모양을 꾸밀 수 있습니다. 예를 들어, 테두리(border)나 그림자(shadow)를 추가할 수 있습니다.
사용 예제
아래는 간단한 AnimatedContainer 사용 예제입니다. 이 예제에서는 버튼을 눌렀을 때 컨테이너의 크기와 색상이 변경되는 애니메이션을 보여줍니다.
import 'package:flutter/material.dart';

void main() {
  runApp(MyApp());
}

class MyApp extends StatefulWidget {
  @override
  _MyAppState createState() => _MyAppState();
}

class _MyAppState extends State<MyApp> {
  double _width = 100.0;
  double _height = 100.0;
  Color _color = Colors.blue;

  void _animateContainer() {
    setState(() {
      _width = _width == 100.0 ? 200.0 : 100.0;
      _height = _height == 100.0 ? 200.0 : 100.0;
      _color = _color == Colors.blue ? Colors.red : Colors.blue;
    });
  }

  @override
  Widget build(BuildContext context) {
    return MaterialApp(
      home: Scaffold(
        appBar: AppBar(
          title: Text('AnimatedContainer Example'),
        ),
        body: Center(
          child: AnimatedContainer(
            duration: Duration(seconds: 1),
            curve: Curves.fastOutSlowIn,
            width: _width,
            height: _height,
            color: _color,
            child: Center(
                child: Text('AnimatedContainer!', style: TextStyle(color: Colors.white))),
          ),
        ),
        floatingActionButton: FloatingActionButton(
          onPressed: _animateContainer,
          tooltip: 'Animate',
          child: Icon(Icons.play_arrow),
        ),
      ),
    );
  }
}
